Back to Transportation Manager Main Menu
Manage Vehicles
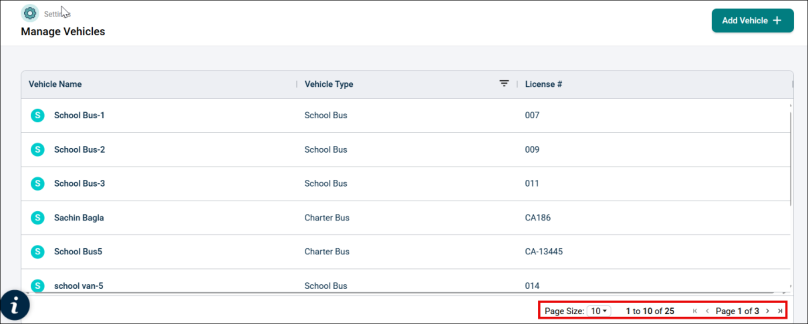
The Manage Vehicles interface allows administrators to view, add, and manage vehicles within the Transportation Management system.
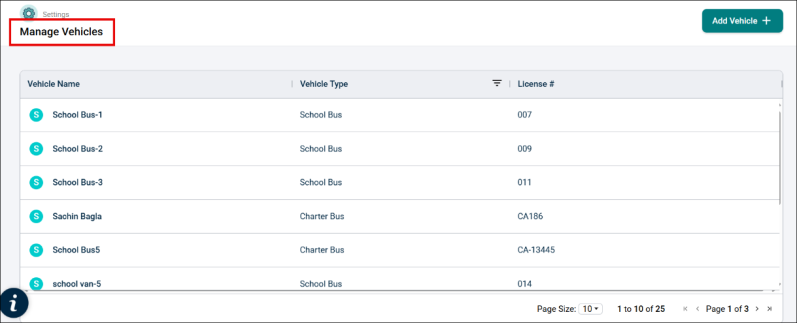
Navigate to Manage Vehicles Page
To navigate to the Manage Vehicles Page, do the following steps:
-
Click the Settings icon.
-
Select the Manage Vehicles option from the Settings list.

This will open the Manage Vehicles page with the details of previously added vehicles. If no vehicle has been added, then it will be blank.
Add Vehicle
To add a vehicle, follow these steps:
-
Click the +Add Vehicle button in the top right corner of the page.
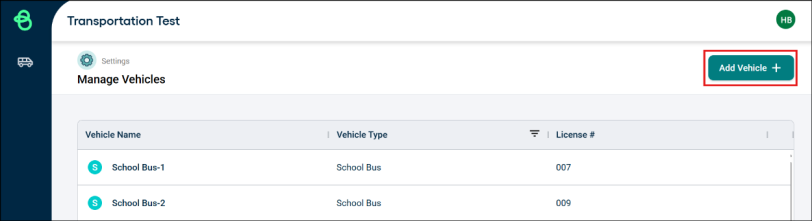
A new pop-up window will open for entering vehicle details.
-
In the Add Vehicle popup, enter the following details and click the Add Vehicle button on the top right.
-
Name*: Enter the vehicle's name.
- Vehicle Type*: Select from the drop-down (e.g., School Bus, Charter Bus).
-
License Plate*: Enter the license number.
-
Mileage: (Optional) Add mileage if available.
-
Cost Type*: Choose either:
• Cost Per Mile – enter the per-mile cost, or
• Flat Rate – enter the fixed trip rate.
-
Notes: Add internal remarks or notes about the vehicle (Optional).
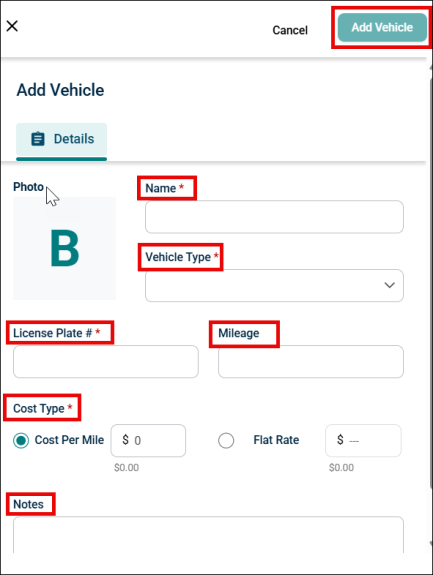
NOTE Cost defaults to $0. If you do not want to calculate the estimated trip cost, keep the value as $0.
-
-
Once the vehicle details are added, they will appear in the list on the Manage Vehicles page.
-
Double-click on an entry to view complete details.
NOTE If you don’t see a vehicle in the current list, use the pagination controls at the bottom-right to navigate through additional pages.